Here's a quick way to use animated sprites in HTML and JavaScript.
In only 15 lines of code we'll create a sprite that looks around when you click on it:
Please note that it does NOT use Canvas, so HTML5 is NOT required. At the same time it's a very flexible solution that can be implemented in games or pretty much any website.
This code executes very quickly and is compatible with virtually any browser [exept the text-based ones :)], including mobile devices (iOS, Android, Blackberry).
It's actually a great alternative to Flash and Java - you can still move sprites all around the window and respond to events (mouse, keyboard, timer), but with much better browser compatibility!
Let's get to work!
Step 1 - empty HTML page
<html>
<body>
</body></html>
If you paste this text into a notepad, save it with the extension .htm and open it with a web browser, you'll only get an empty window for now:
Step 2 - Div - a generic HTML object
Now we add a simple empty Div element (which will become our actual sprite) to the Body and set its height (equal to the sprite image height - 200 pixels in our example) and background image: (the code added in this step is highlighted in blue)
<html>
<body>
<div style="
height:200px;
background-image:url(sprite.png);"
></div>
</body></html>
At this point, if you open the page in a browser, it should look something like this:
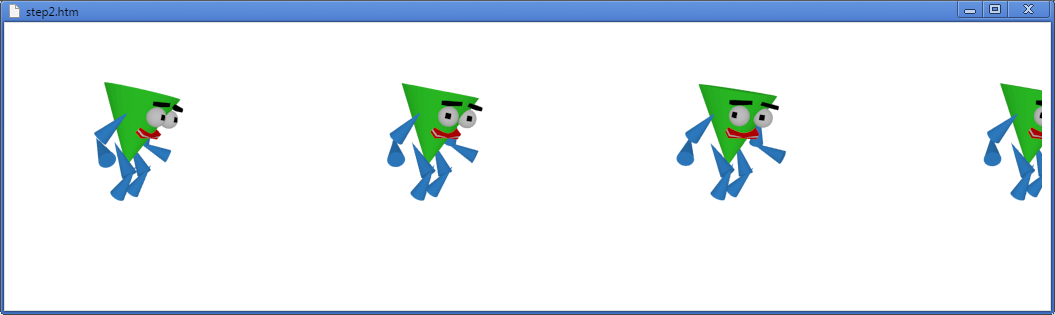
It's basically a wide image with all the frames in one row. Time to switch frames.
Step 3 - Declare the variable
To do this, we'll have to declare a variable in the Header that will store the current frame number.
<html>
<head><script>
var frame=0;
</script></head>
<body>
<div style="
height:200px;
background-image:url(sprite.png);"
></div>
</body></html>
Step 4 - change frame on click
And we increase the value of this variable whenever user clicks on the sprite.
<html>
<head><script>
var frame=0;
</script></head>
<body>
<div style="
height:200px;
background-image:url(sprite.png);"
onclick="{
frame++;
}"
></div>
</body></html>
At the same time, we move the background position of the our Div sprite:
<html>
<head><script>
var frame=0;
</script></head>
<body>
<div style="
height:200px;
background-image:url(sprite.png);"
onclick="{
frame++;
this.style.backgroundPosition=(frame*300)+'px';
}"
></div>
</body></html>
When you click on the sprite now, you should see all the characters change their pose by one frame.
This was the actual animation step. That's where we actually display a different frame each time.
We're basically shifting the Div background by the width of the frame (300 pixels in our case).
Step 5 - resize the sprite
Finally, we have to set the div to the frame width so that only one frame is visible:
<html>
<head><script>
var frame=0;
</script></head>
<body>
<div style="
height:200px;
width:300px;
background-image:url(sprite.png);"
onclick="{
frame++;
this.style.backgroundPosition=(frame*300)+'px';
}"
></div>
</body></html>

Great! Now we see only one frame and the character is still moving (looking around) when you click on it.
Here is the final HTML file: step5.htm
(Note: this link opens a new window with the functioning code. To see the source, use the "View source" option in your browser.
That's pretty much it! You now have an interactive animated Div sprite in your HTML page!
Obviously, that's only the minimal amount code to demonstrate the effect. Now you can move the sprite around on the screen, resize and rotate them...
Think about all the possibilities!
More free sprites and animation examples: http://sprite.slicker.me
Flash version of this tutorial